Adam was the one who wanted to build a shed. At first, I was a bit worried it would take up too much space in our backyard and I had visions of a rusty old shed in our cute backyard. Adam talked me into, pointing out that we could move a bunch of stuff from our cluttered garage into the shed. And he promised it would be a cute. Once he told me he planned to put some windows in the shed, my one request was that it have some window boxes so I could plant some pretty flowers.
As all Adam's projects turn out, the shed was way better than I ever could have imagined. It's pretty darn adorable. It helped that Adam thought to include lots of thoughtful details. He painted the shed door the same color as our front door. He included some dentil moulding above the windows that we also have on our house. He even made miniature cedar shutters like the ones he made for our home. What's not to love?
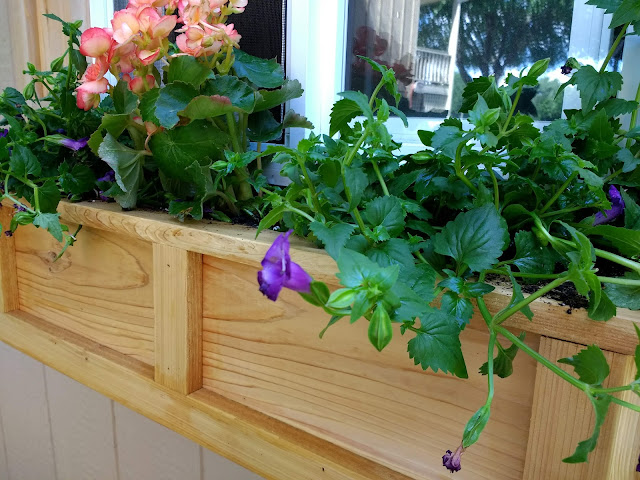
This weekend he put the cherry on top of the cake- he installed some cedar window boxes!
They really do finish off the shed and add so much charm. He mimicked some of the details from the shutters and they turned out beautifully. He built them out of cedar wood so they would hold up to the elements. To further help them withstand the weather, he added a coat of General Finishes Exterior 450 varnish with just a touch of stain to add a little depth.
Once the varnish was dry, he screwed them into the studs inside the shed and drilled a few holes in the bottom to help with water drainage. We added a layer of river rock to keep the wet soil off the wood and allow for proper drainage. Then we added potting soil, which is lighter than plain old dirt. Next came the fun part- adding flowers!
We took Archer and Lyla to a local nursery to pick out some flowers. On the two front window boxes, we selected Hawaiian Blue Eyes, Tropical Sunrise Superbells, and Lobularias. For the window box on the side of the shed, we picked out Violet Torenias and Rieger Begnonias. We went with the Hawaiian Blue Eyes and Lobularias because they are trailing plants and should grow down over the sides of the boxes. All the flowers should get bigger and more lush and really fill out the window boxes as summer progresses.
Our sweet neighbor didn't waste any time telling us how nice the window boxes look from their deck. You can also see the side of the shed from our front yard. I love how they finish off the shed.
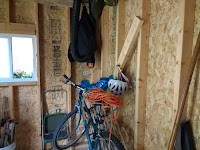
I realized I never gave you a tour of the inside of the shed. We don't have any grand organizational systems in place, but it is neat, tidy and easy to find things inside. The inside is deceivingly spacious. We managed to fit all of our lawn and garden equipment, including our lawn mower and two giant wheelbarrows. Adam also included a little tabletop with shelves that have come in handy when planting flowers. There's even space for my bike, which I might actually ride one of these days. There's plenty of room for more stuff, but we're not in any hurry to clutter it up.
We also decided to put a little landscaping around the shed recently. Between the shed and the fence, the grass was having a hard time getting enough sunlight to grow. So Adam used some landscape timbers to create a little flower bed. We put down some weed mat, mulch and lots of cute plants that were supposed to do well in the shade, like ferns, coral bells, and columbine. We never got a chance to see how the plants would do because the pesky rabbits ate almost all of them! You can see the remains below. Our new plan is to split some of the giant hostas we have in our front flower beds in the fall and transplant them around the shed. The rabbits don't seem to bother them, so hopefully they'll have a better fate than our other plants.
With the window boxes in place, we can officially check "shed" off of our to-do list. It certainly is the cutest shed I ever did see! Nicely done, Adam!
If you'd like to see how the shed came together, check out these posts:


