Thursday, March 18, 2021

Three and a Half Years!

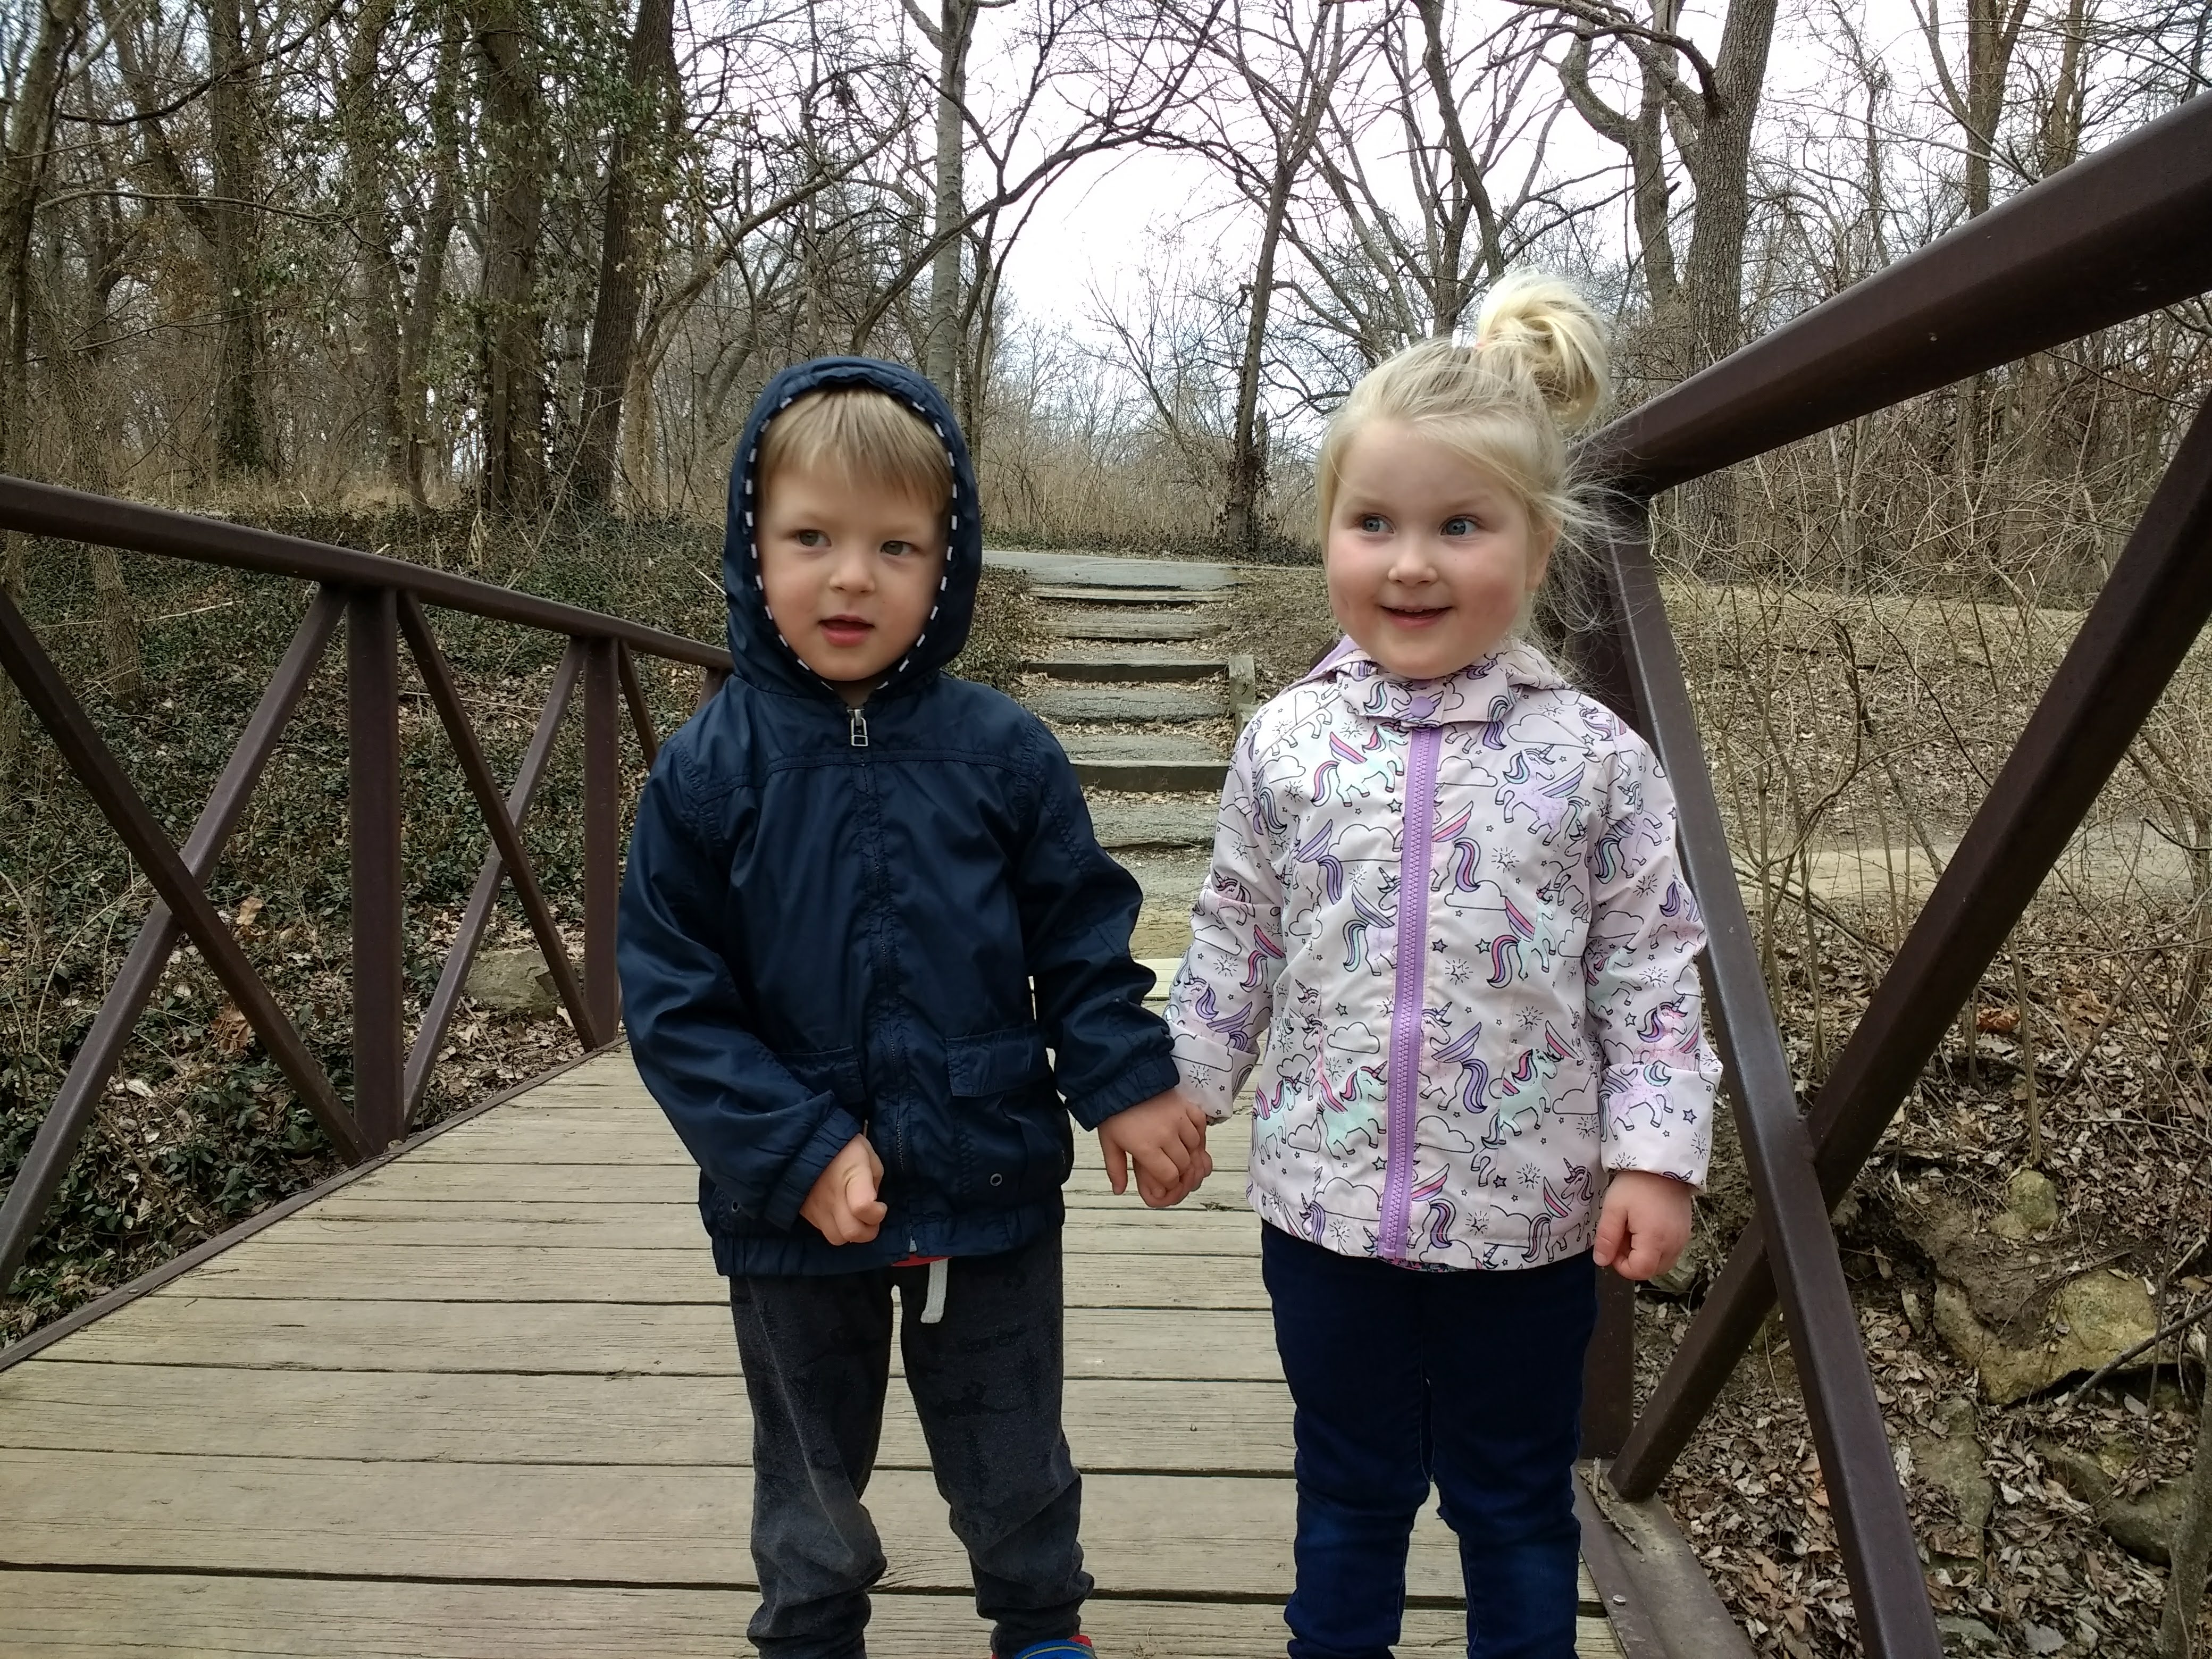
I start every single one of these posts the same, but I can't believe Archer and Lyla are already three and a half years old!  They are both growing like weeds and reading stories to them while they're both on my lap is tricky since I can't see over their heads anymore!  But I still manage.  I will let them sit on my lap as long as they like.  

They are both happy and thriving, despite spending the majority of the past year without seeing any other kids.  I have worried so much about their social development and how much they are missing out by us trying to do our part to end the pandemic.  I am so incredibly thankful they have each other.  They continue to practice (though not always successfully) sharing, being kind to each other, taking turns and creatively playing together.  Their relationship continues to blossom and they truly do love each other and enjoy spending time together.  Their favorite things to do lately are run around the house with their Paw Patrol toys, singing at the top of their lungs, riding their big kid bikes, doing any sort of craft and making tents out of blankets.  

They continue to have hardy appetites and I can tell exactly when it's time for a snack or meal based solely on their level of crabiness.  In an effort to think of things that are fun and can be done while still "staying away from germs," I took them to the donut store drive thru for donuts and the Starbucks drive thru for cake pops.  So now each and every time we get in the car, they request we go get a donut or cake pop.  I have to break their hearts quite often.  

We've kept our local library branch busy by placing lots of holds on books.  Picking them up at the drive thru window is a very exciting activity.  It's really important to me that Lyla and Archer be exposed to all kinds of cultures, lifestyles, people and experiences through reading.  So we get a wide variety of books and devour them all!  Both Archer and Lyla are starting to tell me what kinds of books they are interested in and I make sure to honor their choices.  I feel pretty clueless about being a parent when it comes to many topics, but I feel confident that I'm doing everything I can to help them grow into lifelong readers.   

We drive around looking for empty playgrounds several times a week.  Archer and Lyla love playgrounds!  And they are at the point where I don't have to constantly follow them around to make sure they don't get hurt on any of the equipment.  They also enjoy walking on trails and I can still convince them to hop in the stroller for a ride around the neighborhood.  I know my walks with the stroller are limited, so I'm trying to savor each and every one.  More often than not, they want to ride their bikes while we take Jazzy for her daily walk.  Now it's more like a daily run to keep up with Lyla and Archer, but they do a really good job of stopping before they cross any streets and waiting for me and Jazzy to catch up.  Grandma and Grandpa got them a new swing, rings and a trapeze bar to replace their baby swings on their swing set Adam built them.  It won't be long before they are jumping off the swing!  

Archer continues to be very active and agile.  He's constantly climbing and jumping off of things.  He loves to run around outside.  He also enjoys digging up the grass in the yard with his construction vehicles and digging in the mulch in the flower beds, despite how many times we tell him not to.  Archer is a big fan of his fire truck and ambulance, along with all of his other cars and trucks.  And he loves building complex train tracks with Adam.  Lately, Archer has been very interested in helping me cook and will tell me "I saved you a spot" when he wants me to sit next to him on the couch.  

Archer has started virtually visiting with a speech and language pathologist weekly.  He is working on a few sounds and loves getting to see his speech teacher each week on the computer.  He's also excited to complete his speech homework each week and we've definitely seen some progress in the short time he's had his visits.  We are very grateful our Parents As Teachers educator caught these speech concerns early and has helped get Archer the resources he needs to be as successful as he can be with speech.  We're hoping these early interventions will get him back on track before he starts kindergarten.  

Archer is such a sweet, silly, generally easy-going kid.  I love hearing him belt out his version of Paper Route's Tiger Teeth.  He still willingly gives me hugs and kisses.  I adore watching him continue to grow up!  

Lyla continues to know exactly what she wants and generally knows how to get it.  She's not afraid to show her sassy side!  She's also incredibly empathetic and loves to talk about how important it is to be kind and share.  Lyla is incredibly independent.  She loves to pick out her outfit each morning and enjoys vetoing any options I present to her.  She can get her coat zipped by herself and fasten buttons.  Lyla also loves to dress her baby dolls in all sorts of ensembles.  I've taken advantage of her independence and have her help me out with a variety of tasks like getting ingredients from the fridge while I'm cooking, feeding Jazzy her dinner and helping me vacuum.  

Adam and I have to be very careful what we say around Lyla these days.  She likes to pay very close attention to what we're talking about and asks all sorts of clarifying questions.  Lyla enjoys building tall towers and playing with her many stuffed animals these days.  Just the other morning she tucked her stuffed giraffe in bed with Adam while he was sleeping in and it melted my heart.  

Lyla is strong-willed, but kind.  I like to imagine she'll be the kind of person who gets what she wants out of life and will stand up for others.  When I ask her for a kiss these days, she'll give me her cheek.  But she's more than happy to snuggle up with me when I ask.  

These beautiful little people bring me so much joy and excitement (and exhaustion and frustration, if I'm being honest.)  Archer and Lyla continue to teach me as much as I (hopefully) teach them.  It's a privilege to watch them continue to grow up and I truly love my role as their mom.  

Friday, January 1, 2021

Our New Old Kitchen Table

Allow me to introduce you to the biggest annoyance in my house, my dining room table.  While it's in good shape and does it's job, it has a very annoying feature.  Cracks.  Lots of cracks for crumbs and peanut butter and play dough and milk to settle into.  After every meal and craft and activity, I have to not only wipe down the table, but painstakingly clean out the many cracks of all the leftover debris.  I realize this is a very minimal problem, especially given the current global pandemic.  

But it was annoying enough for me to repeatedly complain about it to Adam.  So we started brainstorming some solutions.  Eventually we would love to exchange our pub-height dining room table with a standard-height round table.  The pub height just isn't ideal for our older family members or kids, so we think a standard-height table is the way to go.  It'd also be nice for the future round table to have multiple leaves so we could seat bigger groups of people for things like Thanksgiving and birthday parties.  (Fingers crossed we can safely gather by next Thanksgiving!)  Recently, Adam and I have tried to shop secondhand before buying something new.  We looked at a few tables on Facebook Marketplace that were either in need of refinishing or completely refinished.  Although we liked a few, we decided now just wasn't the right time to be going into strangers' houses to look at furniture.    

So then we turned our attention to the small pub table we have in our eat-in kitchen area.  It's really tiny and just doesn't comfortably fit four people.  But we have the space in the area for a larger table.  As luck would have it, there was a table in our basement that was from Adam's childhood home.  It was still sturdy, but looked a bit dated, despite caning being back in style.  But it was standard-height, the perfect size for the space and even had rounded corners as an added safety feature!  

After taping out the table size in our eat-in kitchen area, we were convinced it would be the perfect fit.  Now we just had to update it.  

Adam first tried sanding down the top to see if it could be re-stained.  He figured out it was just a wood laminate top over particle board, so staining wasn't an option.  Then we moved onto the idea of painting it.  Adam had some milk paint (General Finishes Milk Paint in Driftwood) in the basement that would cover up the laminate/particle board top.  The color was very close to the color of our kitchen cabinets so we felt it would tie in nicely with the overall aesthetic of our kitchen.

So Adam put on four coats of the milk paint, followed by four coats of a water-based topcoat in a satin finish.  This process resulted in a very even, smooth finish.  He also added some bracing to the bottom of the table to make sure it was nice and sturdy in case Archer or Lyla have any table dancing in their futures.  Adam decided to paint the bottom of the table (he only did one coat of milk paint) since the bottom of the table is visible from below in the family room.        

Once the table was painted, then we had to figure out what to do about the base of the table.  The original base was a bit bulky and would be difficult to paint given the caning.  We've always liked the look of hairpin legs and thought they would be the perfect way to update this old table.  After doing some research, Adam settled on an Ohio-based company so we could support a small business here in the United States.  We picked out some black powder-coated legs with the perfect little brass detail on the foot.  

The final piece of the puzzle was figuring out what to do for seating around the table.  We couldn't reuse the stools because they were pub-height, so we needed some standard-height chairs.  If it weren't for the pandemic, we'd definitely taken the secondhand route and picked something from Facebook Marketplace or Craigslist.  But we ended up going with these.

All the painting and curing and assembling was wrapped up just in time to enjoy our dinner on New Year's Eve around our new old table.  I'm in love with how it all came together!  I'm glad we were able to reuse an old table, but still update it to make it fit our style.  The gray works so well with the kitchen cabinets.  Our previous table was very similar in color to our wood floors, so it just sort of blended in.  But now our new table stands out in the best way!  


The legs are minimal and modern and tie into the other hits of black we have going on in our kitchen, like the appliances and cabinet hardware.  The black chairs also tie in nicely, while also being comfortable and somehow fit Adam, myself and the kids remarkably well despite our varying heights.  I might see if I can find some chair cushions secondhand in the future.  While the chairs are perfectly comfortable for a meal, a game of Liverpool (anyone else's family play this card game?) would be much more comfortable with a little extra padding.  


And I further broke my attempts at shopping secondhand to buy some silicone place mats for Archer and Lyla (alphabet & rainbows) hoping they will help protect the tabletop longer.  Both Adam and I realize scratches and dings are bound to happen, but thought the place mats would help.     

Adam produced another win!  Our nightly family dinners (& lunches thanks to Adam working from home) will be just a little bit more special gathered around this new old table.  

Want to guess the part I love most of all?  There are no cracks! :)         

Sunday, October 18, 2020

All Decked Out

We've (mainly Adam) been working on sprucing up our deck over these last few months.  Updating the exterior siding of our house started the process off.  Adam has always wanted to improve our deck.  When we bought our house, the deck spanned a large portion of the back of the house and was mostly covered.  It was a nice idea, but after we took a closer look at it, the deck wasn't built in the most structurally sound way.  When we first moved in, Adam and some very kind family members came to help shore everything up and make sure it was nice and sturdy.  It was very clear the deck had been built in three different installments.  There was the original covered deck, then an extension of the deck (also covered), and finally a smaller section that was probably used for a grill.  There were lots of vertical posts and two doorways so we assume it was once screened in or the previous owners had planned to screen it in at some point.  It was alright, but there was an overall lack of craftsmanship and was starting to show its age.  It was time to make our deck shine!       

Here's where our deck started out: 

This was after it had been shored up to be structurally sound and Adam had replaced some of the lattice that critters had chewed through.  Again, it was okay, but it certainly wasn't anything special.  

With plans to have new siding added to our exterior, Adam got to work planning how to reconfigure our deck to maximize using materials we already had on hand.  We wanted to keep what we could, but rework sections to make them look and function better.  All the extra posts, beams and horizontal pieces served as a jungle gym for the neighborhood squirrels.  They had started chewing up a bunch of parts of our deck and even some of our siding!  (Fun fact: Squirrels' incisors never stop growing, which is why they continuously chew on acorns, siding, decking and even plastic solar lights.)  

We decided to remove part of deck roof (the middle section that looks a little taller in the above picture.)  We don't typically get sun on the back of the deck until the middle of the afternoon because the house blocks it.  We also have several shady trees, which adds even more protection from the sun.  So we weren't too concerned with removing part of the deck covering.  There was also some water damage happening where the two deck roofs met and we wanted to eliminate any further mold issues.  The crew who worked on our siding removed the upper deck roof.  Adam marked which pieces of lumber he wanted to save and actually used most of that lumber to build the kids' swing set.  You know I'm all about reusing things we already have these days, so this made me very happy!  

Removing half of the covered deck made such a big difference!  I didn't realize how much of a difference it would make until I saw it with my own eyes!  It really opened up the back of the house and let some of our house's architecture shine through.  


Once a portion of the deck roof was removed, Adam got busy reworking the posts for the remaining portion of the deck roof.  He took out two of the posts and added some bracing to the two posts that stayed to offer up support and decorative details.    


You'll also notice Adam replaced the very tired-looking lattice on the side of the deck.  He replaced the lattice with deck skirting.  He used deck boards to finish off the sides and help keep critters out.  There's a small gap in between the boards to allow for airflow.  This really helped make the deck look finished and like a cohesive part of the exterior of our house.   

The next order of business was to figure out what to do with the railings.  We tossed around the idea of removing them completely, like we did on our front porch.  That would definitely open things up!  But parts of our deck are fairly high off the ground, so we didn't want anyone toppling off of it.  We also thought about doing stairs that wrapped around the whole deck.  But we thought furniture placement might be tricky, and again might not be the safest option.  So we knew we needed some sort of railings.  The wooden railings we had before just seemed so bulky and obstructed the view.  We considered doing slimmer wrought iron rails, but thought that might look equally busy to the wood railings.  I've always been a fan of cable railings and got Adam to entertain the idea after finding some inspiration photos online.  Once Adam was convinced cable railings were the way to go, he got to work researching every possible option out there.  He finally settled on buying the HAAS REVO Stainless Steel Cable Railing System from E-Rigging.  He liked that the materials were made in the United States and had lots of handy how-to videos to help with installation.  

The supplies took awhile to arrive from ....due to COVID-19 and hurricanes, neither of which could be helped.  While we were waiting on the supplies, we got busy prepping the posts.  Adam started by cutting off some of the posts, lowering the overall height of the handrail.  Lowering the height of the handrail helped free up our line of sight while seated on the deck.  Whenever we sat at the table on the deck, the handrail was smack dab in the middle of our sight line.  So lowering it was the perfect solution.  Adam made sure to check our local codes to make sure it was still at an appropriate height.  Once the posts were cut and leveled, he added new wood for the handrails.  The previous handrails were pretty boogered up and a bit warped.  He also had to work on shoring and leveling up some of the posts to make sure the cable railing would be level when it was installed.  

Once all the posts and handrails were good to go, we got to work painting them white.  We decided the white would tie in with the other white trim on the house.  Plus, we had leftover wood primer and white paint from the front porch we could use.  Nana and Ted came over to help us out.  Ted pitched in with the painting while Nana watched Archer and Lyla.  The fresh white paint definitely crisped things up!  Adam eventually added a clear coat (General Finishes Exterior 450 Water-Based Topcoat in Gloss) to the handrail to help keep the white looking fresh since its prone to bird poop and grubby, little hands.  Once the paint was dry, Adam drilled holes in the posts in preparation for the cable rail system.  

Adam was also working on the deck boards during this time.  Our deck floor has always been a bit bouncy, so Adam pulled up some decking boards to figure out what was happening.  It turned out some of the floor joists were missing joist hangers, so he added the necessary joist hangers to make the floor nice and sturdy.  He also replaced a few deck boards that were looking a little too worn.  Adam then turned his attention into making the deck floor look like one cohesive floor instead of looking like a deck floor that had been installed in three distinct, different sections.  He feathered in new pieces and sanded down the whole floor, as you can see in the above photo.  It was starting to look like a whole new deck after he was finished with these steps!  

Speaking of steps, Adam also reworked the stairs on either side of the deck, along with the set of stairs that lead down from the door in the kitchen.  Widening the stairs on either side of the deck helped to open things up, but also make them look more intentional.  These are the kinds of details that sometimes seem like overkill to me when Adam is in the planning stages, but the details that totally make a difference once he brings them to life.  

Now that all the reworking and prepping was complete, it was time to stain the deck floor.  As usual, Adam researched every possible option and scoured the internet for reviews on every product on the market.  Ultimately, Adam decided to go with Osmo Decking Oil.  While it was on the pricier side, it promises no peeling and will allow the wood to breathe.  It claims to be water-repellent and weather and UV resistant.  It also boasts very low VOCs, which makes us feel better knowing Archer, Lyla and Jazzy will be clocking many hours on the deck.  He ordered a few different color samples so we could see what they would look like in person.  We decided Rosewood would be the best option.  It was the perfect brown tone that played well with the blue siding, looked crisp against the white painted posts and handrails and tied in with the shutters on the front of our house.

Adam ordered the Wood Reviver Power Gel, the Decking Oil in Rosewood and a couple brushes.  He got the deck good and clean using the Wood Reviver Power Gel and then made sure it was fully dry before we moved onto the staining step.  Nana was kind enough to come over and watch the kids so I could lend a hand to the staining process.  Adam and I tackled this step over the course of two days.  We put on the first coat on day one, let it dry overnight, then added the second and final coat the following day.  It covered beautifully and really soaked into the wood.  We did use some clean rags to wipe away the excess stain after brushing it on.  In addition to the deck floor, we also stained the three sets of stairs and the deck skirting on the sides of the deck.  

It turned out gorgeous!  The finish is very luxe and the color is perfect.  It is definitely water-repellent and hasn't faded in the few months since we've stained it.  I will mention that since it's a darker color, it does show some dirt and dust.  But it's also a deck and that's to be expected.  I don't really mind seeing Jazzy's sweet little footprints on the deck occasionally.  

Once the deck was stained, the cable rail supplies arrived and Adam got to work on installing the railing.  It wasn't a horribly complex process, but it did take some time and an extra set of hands during a few parts.  The finished railing is perfect for our deck!  It keeps that open feeling we were after, but also provides some safety.  While we've discouraged Lyla and Archer from climbing up the wires, it is sturdy enough to hold their weight.  I love that I can sit on the deck and my view of the kids playing on their swing set isn't obstructed.  So far the squirrels haven't bothered it at all.  It's also a lot easier to blow off any leaves that accumulate on the deck with the leaf blower since we don't have bulky railings in the way.

To make things even more comfortable, Adam installed a new ceiling fan under the deck roof.  Turning it on keeps flying insects at bay and adds a nice breeze.  And since we've removed all the extra beams and posts, the squirrels can't get on top of the new fan like they did with the old fan.  Adam also added an outlet so we can add lights if we ever want to.  

With the deck looking so picture perfect, we couldn't not complete the final step of adding rock around the deck.  We had planned to tackle this at a later date, but before I knew it 7 tons of rock was delivered to our driveway!  We created a new border around the deck using large cobblestones.  The large cobblestones will allow the tree roots to grow without disturbing a more permanent border.  We tried to make it a little curvier and reclaim some of the yard, too.  While we were both pretty sore after lugging 7 tons of rock around our yard, it really does finish off the backyard so nicely!  Adam added some grass seed around the border to help fill in some of the bare spots.  Just over the last couple weeks the grass has finally filled in.    

Along with all the cobbles, we also got some larger flagstone to create the perfect little path to the hammock.


Let's end with a few before and after shots, shall we? 

It's safe to say the backyard is looking pretty snazzy these days.  We love to spend time on the deck and have enjoyed lots of meals and playtime out there.  As I was pushing the kids in their swings the other day, I was gazing at the sweet swing set, the gorgeous deck and our cute little shed and felt a huge wave of gratitude.  I sure am lucky to have such a beautiful home with a beautiful backyard!  I'm lucky to have such a handy husband who can complete so many of these projects!  And I'm very lucky to get to watch Lyla, Archer and Jazzy enjoy this space we call home!  I'm a lucky girl indeed.