Thursday, August 6, 2015

Giving New Life to an Old Book

While perusing Pinterest, I came across some cute decorating ideas involving pages from old books.  I thought these ideas would work perfectly in my classroom.   

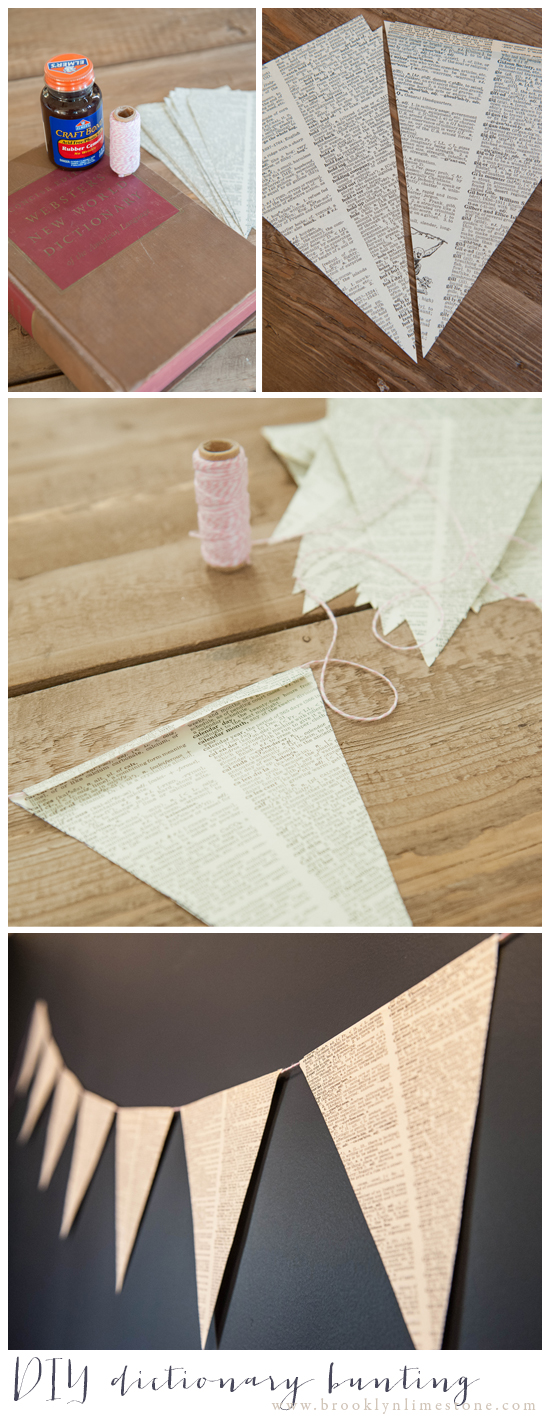
justem:madamecupcake:laboomeria – ah, two of my fave loves [stars and newsprint]                      DIYDictionaryBuntingBrooklynLimestone
Source                                                                        Source

So, I headed off to the thrift store by my house in search of old books.  I found two old books that would do the trick.  I also picked up some jute at Hobby Lobby.  


To make the stars, I made a star template out of some cardstock.  Then, I ripped out pages from the book.  (I felt a little guilty for destroying a book, but I got over it.)  I used the template to trace out stars on the book pages that I ripped out.  I held several pages together so I could cut several stars at one time. Once I had the stars cut out, I cut lengths of jute.  Next, I stapled two stars together with the jute in between them.  I figured once they were hung up, you wouldn't even notice the staples.  Plus, stapling the stars on the jute took a lot less time than gluing or taping would have taken.  

Here they are all hung up.  Pretty cute!  


To make the banner, I cut triangles from some ripped out pages.  Again, I held several pages together so I could cut out more than one triangle at a time.  Once I had my triangles cut out, I cut a length of jute long enough for the length of the wall in my classroom.  Then, I simply used a piece of masking tape to attach each triangle to the jute.  

Here's the banner!  


Pretty easy and pretty cheap!


Monday, August 3, 2015

Hope

Hope has been such an integral part of my life over the past two years.  It can be so uplifting and help propel you forward.  Hope has helped me move forward after the loss of my baby.  Hope has helped me deal with infertility.  Don't get me wrong, hope has been a big help.  But sometimes hope can be dangerous.  

Hope can be dangerous when you rely so heavily on it.  It feels like a slap in the face when things don't turn out how you hoped.  You start to question why you even bother with hope.  But hope is addicting, because it offers such promise.  So I continue to hope.  

Yesterday, I found out that I did not get pregnant this month.  I went through my usual disbelief.  I was so sure that this month was going to be the month.  And then I got angry.  How come I don't get to have a baby?  How come crack addicts get to have babies and I don't?  Then I started to meet up with my good friend hope again.  I tell myself that I need to stay hopeful and think positively.  I can't dwell on what didn't happen; I have to hope for what might happen next.

Hope Quotes (click through for more)
Source     

And so I move forward with my hope renewed.  I can see my future and babies are a part of that.  Adam and I will get there one way or another.  Here's hoping.  

Sunday, August 2, 2015

A Tray Update

I've been working on some simple diy classroom decorations lately.  One of the more simple projects was updating a tray to match my new classroom decor. 

 
I used this wooden paper tray as an inbox as a secretary.  It sat on the corner of my desk and was where I housed any paperwork that needed action.  I plan to use the same tray in my classroom.  It was cute before, but it needed a little makeover so it would match the rest of my classroom decor.  I originally got it at Michael's, in case you would like to get one of your own.  

All you need for this project is the following:


-Wood Tray
-Scrapbook paper
-Acrylic craft paint
-Paintbrush
-Mod Podge
-Aluminum Foil

I started by painting the sides of my tray in my new paint color.  I decided to go with navy.  I ended up putting on two coats so the old paint color was good and covered.  I used my aluminum foil trick to give me a working surface that wouldn't stick to the tray and could be thrown away at the end of the project.  


After the paint dried, I cut the scrapbook paper I chose to fit in the bottom of my tray.  Then, I put a coat of Mod Podge under the paper and another coat on top of the paper.  I ended up putting a coat of Mod Podge over the painted surface, as well.  That way both the paper part and the painted part would have the same shiny finish.  


Here's my new tray after the Mod Podge dried.  I love the polka dots!  And I can't wait to put it on my desk in my classroom!