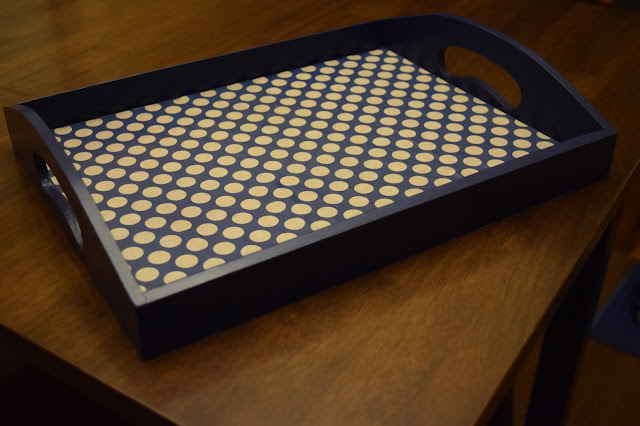
I used this wooden paper tray as an inbox as a secretary. It sat on the corner of my desk and was where I housed any paperwork that needed action. I plan to use the same tray in my classroom. It was cute before, but it needed a little makeover so it would match the rest of my classroom decor. I originally got it at Michael's, in case you would like to get one of your own.
All you need for this project is the following:
-Wood Tray
-Scrapbook paper
-Acrylic craft paint
-Paintbrush
-Mod Podge
-Aluminum Foil
I started by painting the sides of my tray in my new paint color. I decided to go with navy. I ended up putting on two coats so the old paint color was good and covered. I used my aluminum foil trick to give me a working surface that wouldn't stick to the tray and could be thrown away at the end of the project.
After the paint dried, I cut the scrapbook paper I chose to fit in the bottom of my tray. Then, I put a coat of Mod Podge under the paper and another coat on top of the paper. I ended up putting a coat of Mod Podge over the painted surface, as well. That way both the paper part and the painted part would have the same shiny finish.
Here's my new tray after the Mod Podge dried. I love the polka dots! And I can't wait to put it on my desk in my classroom!


No comments:
Post a Comment
I welcome your thoughts!