
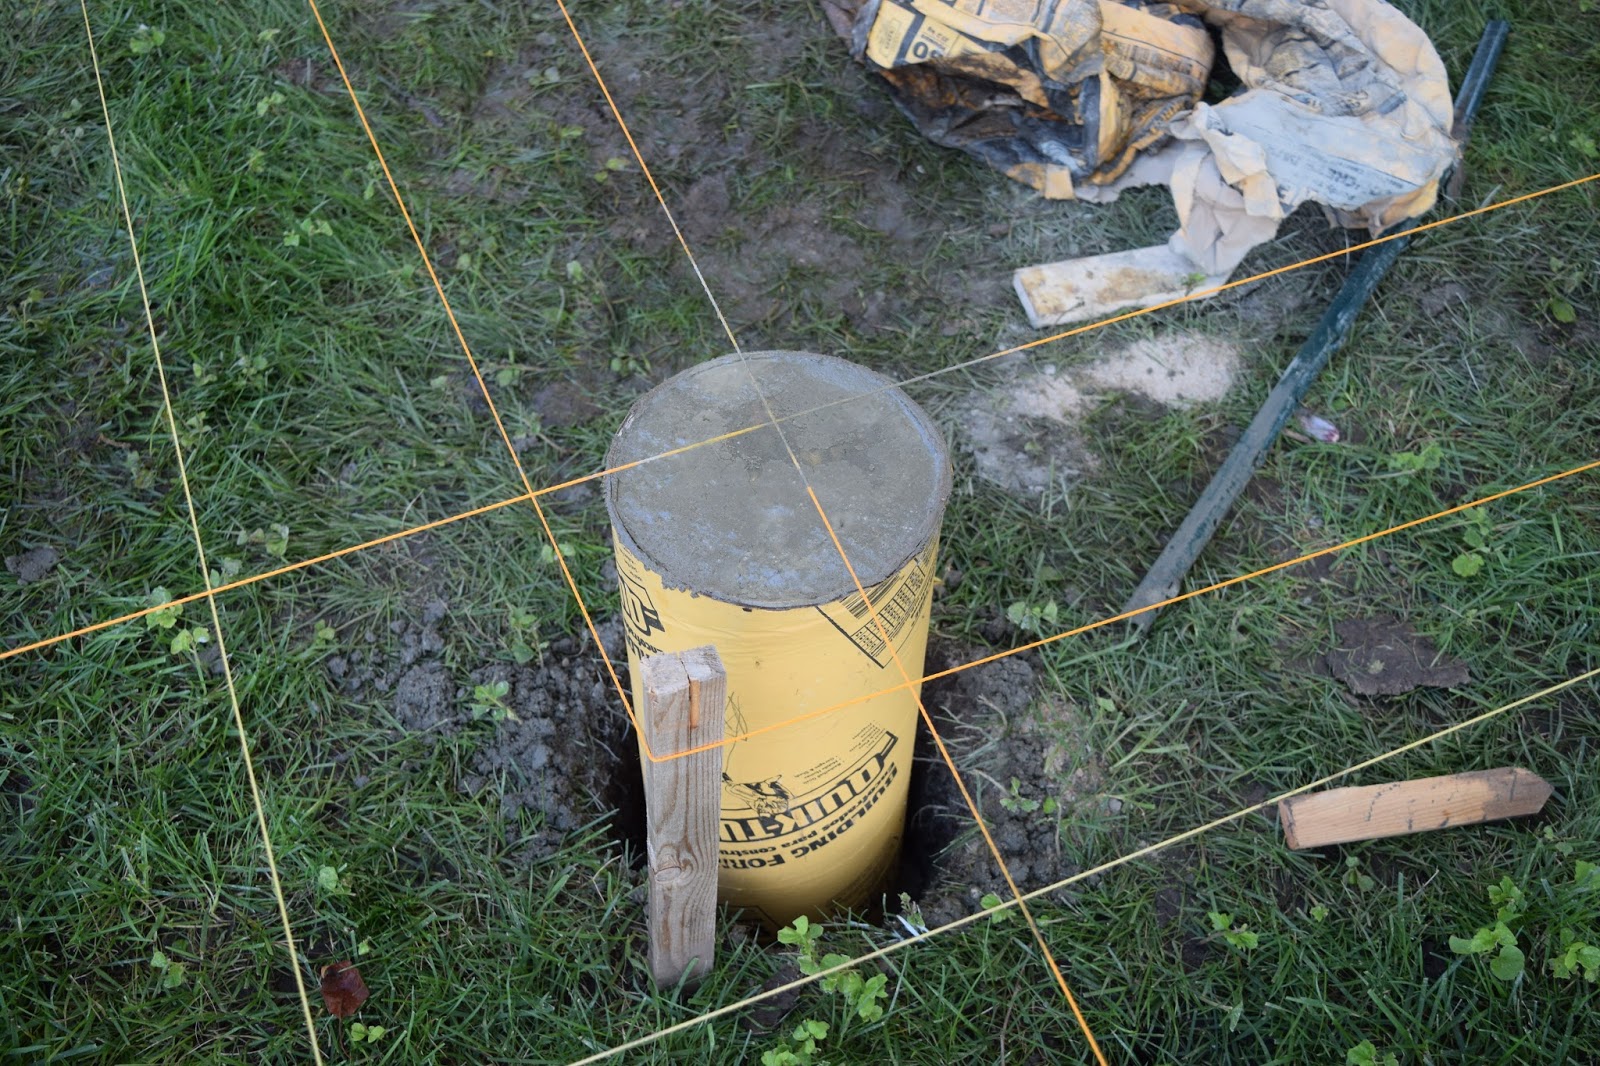
Once the concrete was added, the piers had to cure for a few days before he could move onto the next step.
A little four-legged somebody thought it would be cute to write her name in the concrete before it dried. She must have done that while I wasn't watching!

Once the concrete fully cured, Adam removed the cardboard from the sonotube that was visible above ground. From there he added concrete anchors to the top of each pier. These will keep the wooden frame of the bottom of the shed in place. You can see a glimpse of the anchors in the photo above. Adam placed wood beams into the anchors, shimmed everything up so it was level and then attached the frame together. I make it sound far simpler and quicker that it actually was. Adam worked very diligently to make the base of the shed perfect!
After the base frame of the shed was built, Adam wanted to take care of what will be underneath the shed before moving on. So he added some landscape timbers around the perimeter of the shed. He dug out a space for each timber to help stabilize it. Then he added a weed mat on the inside to help prevent the grass and weeds from growing underneath the shed.
The next step was to add gravel over the top of the weed mat. Adam ordered it from a local landscape supply company and had it delivered to our house. Jazzy had a fun time inspecting the large pile of gravel that got dumped into our driveway before Adam moved it to the backyard.

From there, Adam moved the gravel by wheelbarrow to the backyard. The gravel was placed over the weed mat and spread out.
Now that what will be underneath the shed was taken care of, Adam added the sheets of plywood that will be the shed floor on top of the frame.

I must say, it makes a pretty good dance floor! I tried to talk Adam into keeping it a dance floor, but I don't think I convinced him. I'll have to get all my dancing out before he starts building the walls of the shed.
Once the project is all said and done, we'll add some lattice between the shed floor and the landscape timbers to keep Jazzy and other critters from getting underneath the shed. Jazzy has done a nice job of keeping any rabbits from hanging out under there for now.

I'll keep you all posted as the progress continues!
To find out how our shed project got started, click here.
No comments:
Post a Comment
I welcome your thoughts!