The post shared the hot mess that was our bookcase in the living room. What started out as a jam-packed little bookcase...


Since Adam was going to make me one, that meant we could have it built to our own specifications. He could make it the perfect size to fit the space. And the shelves could be customized to fit not only all of our books, but also the Bose speaker, a file box for all of Adam's piano music that has lived on the floor of our living room in a corner since we moved in and all the decor items we want to showcase.
So Adam went to work designing and building the perfect bookcase for the space. We decided we wanted it to fill most of the wall to the right of the fireplace and be side table height. That way we could utilize the top of the bookcase as a side table for possibly a lamp and a place to set a drink. We decided to paint it white so it would contrast with our dark chocolate brown walls and allow all the books and accessories to pop. I let Adam design away because whatever he makes always turns out fantastic. I know, I'm very lucky!

Jazzy made sure to check in on Adam while he was using the nail gun. The silly girl is terrified of the thing! As soon as she hears the compressor filling up with air, she starts to panic. She becomes my shadow and if I'm not around, she looks for a good hiding spot. I've found her under our bed and behind the toilet in our bathroom. We can't really figure out why it scares her so much. She could care less about loud storms and she completely ignored the fireworks that were being shot off around our neighborhood during the Fourth of July.
I almost wonder if she thinks Adam is getting shot by the nail gun. So every once in awhile, I would let Jazzy in the garage so she could see for herself that her daddy was just fine.

Adam worked very hard on this beautiful piece of furniture. He used an assortment of poplar, pine and birch plywood to make the base and shelves of the bookcase. (I'll get to the top in just a minute.)

He used wood glue and pocket hole screws on the plywood frame and finish and brad nails on the trim pieces. Some temporary diagonal bracing helped keep everything square while it was still being assembled.

Once the basic frame took shape, Adam got to move onto the fun stuff. He added trim around the base, the edges and along the sides. He even used his router to design some of his own trim! He thought of everything, like rounding out the edges of the shelves.


He also added some beadboard along the back that was leftover from our half bathroom project. It's all the special little details he adds to each of his projects that make me love them all the more.

After all of the base was completed, Adam painted it white. It sounds rather simple to say he just painted it white, but it was actually quite the process. First, he sanded the whole piece to make sure it was nice and smooth. From there he primed the piece. The coat of primer helped prevent the knots from showing up in the final paint coat and prevented the wood from soaking up too much paint. Once the piece was primed, he painted on the final paint color. He ended up using 3 coats! All those coats ensured a nice, even finish. Adam tells me the key to successful painted furniture is to sand in between each coat. I'm a believer because it turned out flawless!


Next came a final coat of General Finishes High Performance Gloss. This final coat sealed the piece, making it durable for years to come.
Now it was time to move onto the top. Since the base was white, Adam wanted to showcase some sort of wood for the top. He wanted some wood with character and an interesting grain pattern. It's a bit tricky to use stained wood in our living room because the wall color is so dark. So we wanted to make sure the final wood selection didn't just blend into the wall. Adam ended up selecting several pieces of ambrosia maple. It gets its name from the ambrosia beetle. I guess these beetles bore into the wood and bring along a fungus, which discolors the wood. It all sounds pretty gross, but you actually end up with really pretty wood.
He bought several pieces of ambrosia maple that were only surfaced and planed on two sides. This makes the wood cheaper to purchase, but requires a little more work on the user's end. Wood sold at box stores is typically surfaced and planed on all four sides. Adam ripped the larger boards down into smaller boards and then laminated these pieces together to create the top of the bookcase. To laminate wood, you essentially glue the pieces together. I do believe Adam used every single clamp he owns to keep the pieces in place until the glue dried.


Once the glue dried, he used a bench plane to smooth out the wood by hand. After he planed the wood, he sanded it to get it even smoother. Next, he "raised the grain" by spraying distilled water on the wood; a necessary step prior to using any water-based stain or finish. The water makes the wood fibers stand up, so you have to sand them off to ensure a smooth finish. This is called "de-whiskering the wood." (Bet you didn't think you'd learn so much about woodworking in this post, huh?)


Since the wood was so pretty, Adam decided not to stain the wood. He simply added three coats of General Finishes High Performance Gloss (a water-based top-coat). Again, he sanded in between each coat with higher and higher grits to ensure the smoothest, most flawless finish. And let me tell you, that top is buttery soft! I find myself wandering over to the bookcase in the living room and just running my hands across it from time to time.
Whew! I'm tired just writing this post! Adam put so much effort, attention to detail, time and love into this gorgeous piece of furniture. The fact that he made it makes it so much more beautiful to me. This will be a piece that will end up in Archer or Lyla's house one day. (I might be wiping away a tear right now...)
Let's move onto some before and after pictures!
Here's what our living room looked like before we added the new bookcase.

And in honor of full disclosure, here's what it looked like with all the baby crap.

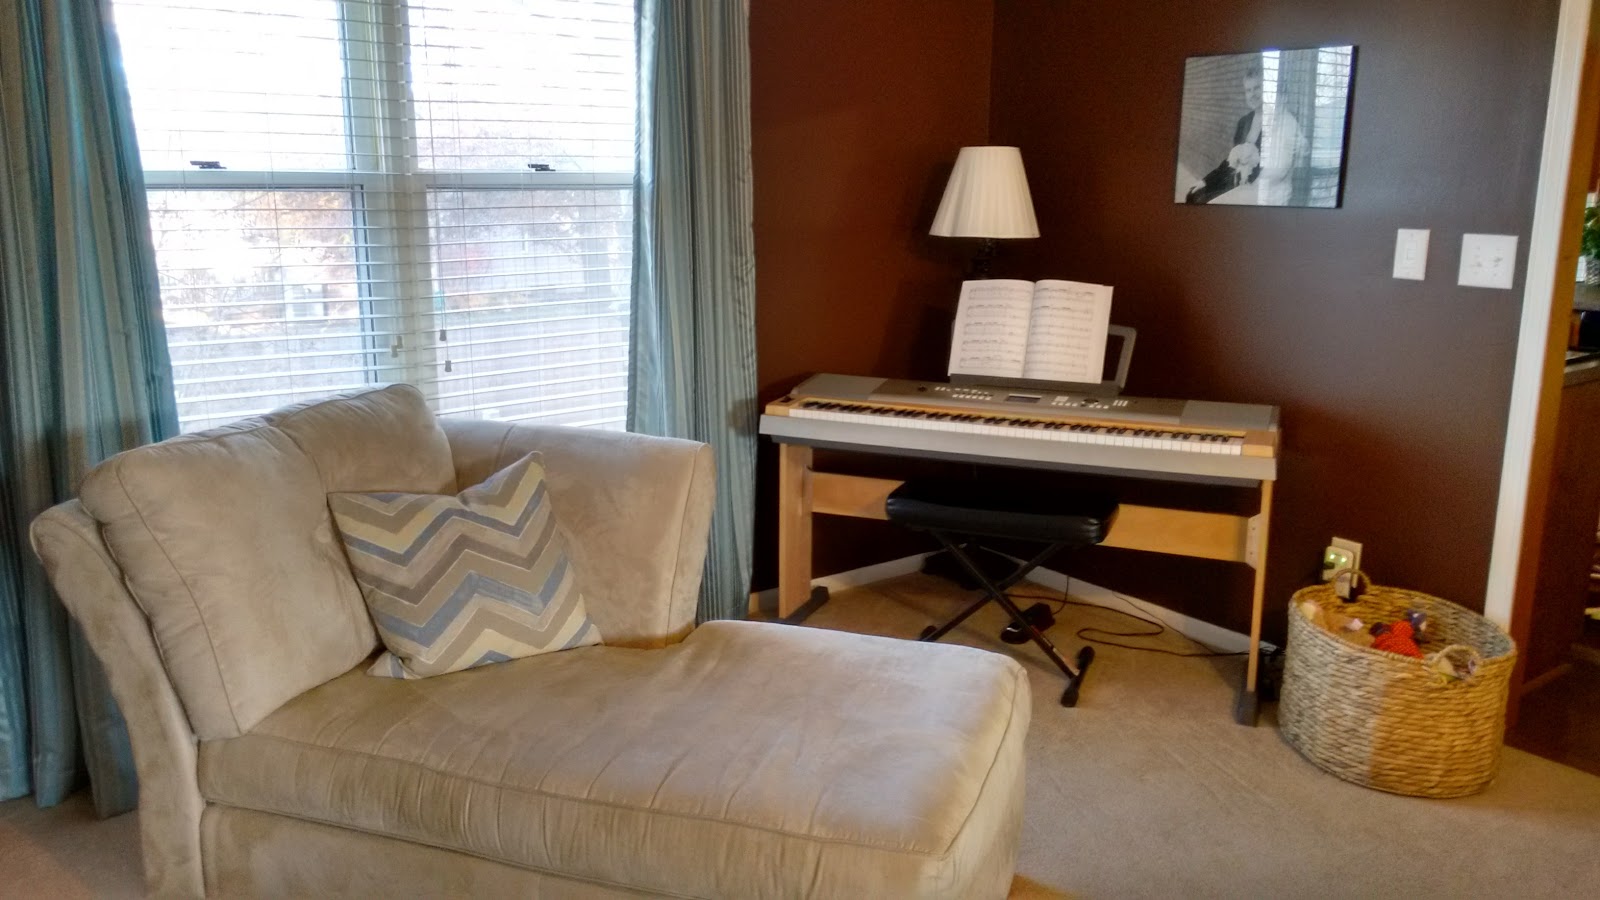
Here's a shot of the corner of the living room that I tend to ignore. There was an ugly plastic file box and basket crammed in the very corner. Definitely not my proudest decorating moment.

Now here's what our living room looks like with our gorgeous new bookcase:

I am in love with this wall now! The photos really don't give the piece justice. It truly is a massive piece and offers up so much storage. But it's also so very pretty! All the detail Adam added to the trim and the top really is stunning.

I love how the white of the bookcase ties in so nicely with the white frames in our vacation gallery wall. The bookcase stands out beautifully against the dark walls. I also like how we tweaked the furniture arrangement on that side of the living room. Placing the chaise in front of the window cozies things up. And clearing out the clutter in the corner by the keyboard helps streamline things. Putting the keyboard on the diagonal helps bring that corner to life, as well.
I have to show you how the top of the bookcase turned out. It's a stunner! Look at how pretty the wood is with all the grain popping out. I'm so happy Adam decided to keep it as its natural color. It is a nice contrast to our walls, but still adds some warmth since it's a wood tone.

We don't want to add too much stuff to the top of it because we don't want to cover up all the pretty wood. We still might add a lamp or some other accessories. But for now the kids' piggy banks add some charm and whimsy to the living room. (Thanks for the piggy banks, Aunt Linda and Uncle Bob!)

I can't really say all the rest of the kids' stuff in the living room adds any charm or whimsy. But I must admit it doesn't bother this Type-A gal as much as I thought it would. It's certainly a small price to pay for two sweet babies!

No comments:
Post a Comment
I welcome your thoughts!