I always figured we would just paint the walls in the nursery and call it a day. But Adam says that's not good enough for our babies! He wanted to try out some new woodworking skills and jazz up the nursery. So he's been busy making it a very special place for the twins.
One of the updates Adam has worked on is adding a planked ceiling. It turned out beautifully! The new planking covers up the old popcorn ceiling and looks incredibly classy! Now I wish all our ceilings were planked!
It was quite the process and one that was started long ago, even before we started IVF. We thought that "if we build it, a baby would come." It took awhile, but two babies are headed our way now. One of the first things Adam did was run some calculations to be sure that the added weight of the planks wouldn't interfere with the structure of the ceiling and come crashing down. He found that adding the planks would still leave our ceiling structurally sound. Gotta love that engineer mind of Adam's!
From there he carefully measured the necessary lengths of the planks and cut them accordingly. I helped prime them before I was pregnant. Eventually they will be painted white and adding a coat of primer will help get a nice, white finish in the end.
Then the planks started going up! Before I was pregnant, I helped hold the planks while Adam attached them with his nail gun. I think we scarred poor Jazzy! She was not a fan of the loud noises associated with the nail gun. She would come join us in the nursery to see what was going on, but as soon as the compressor started filling up with air or a nail was shot, she was outta there!
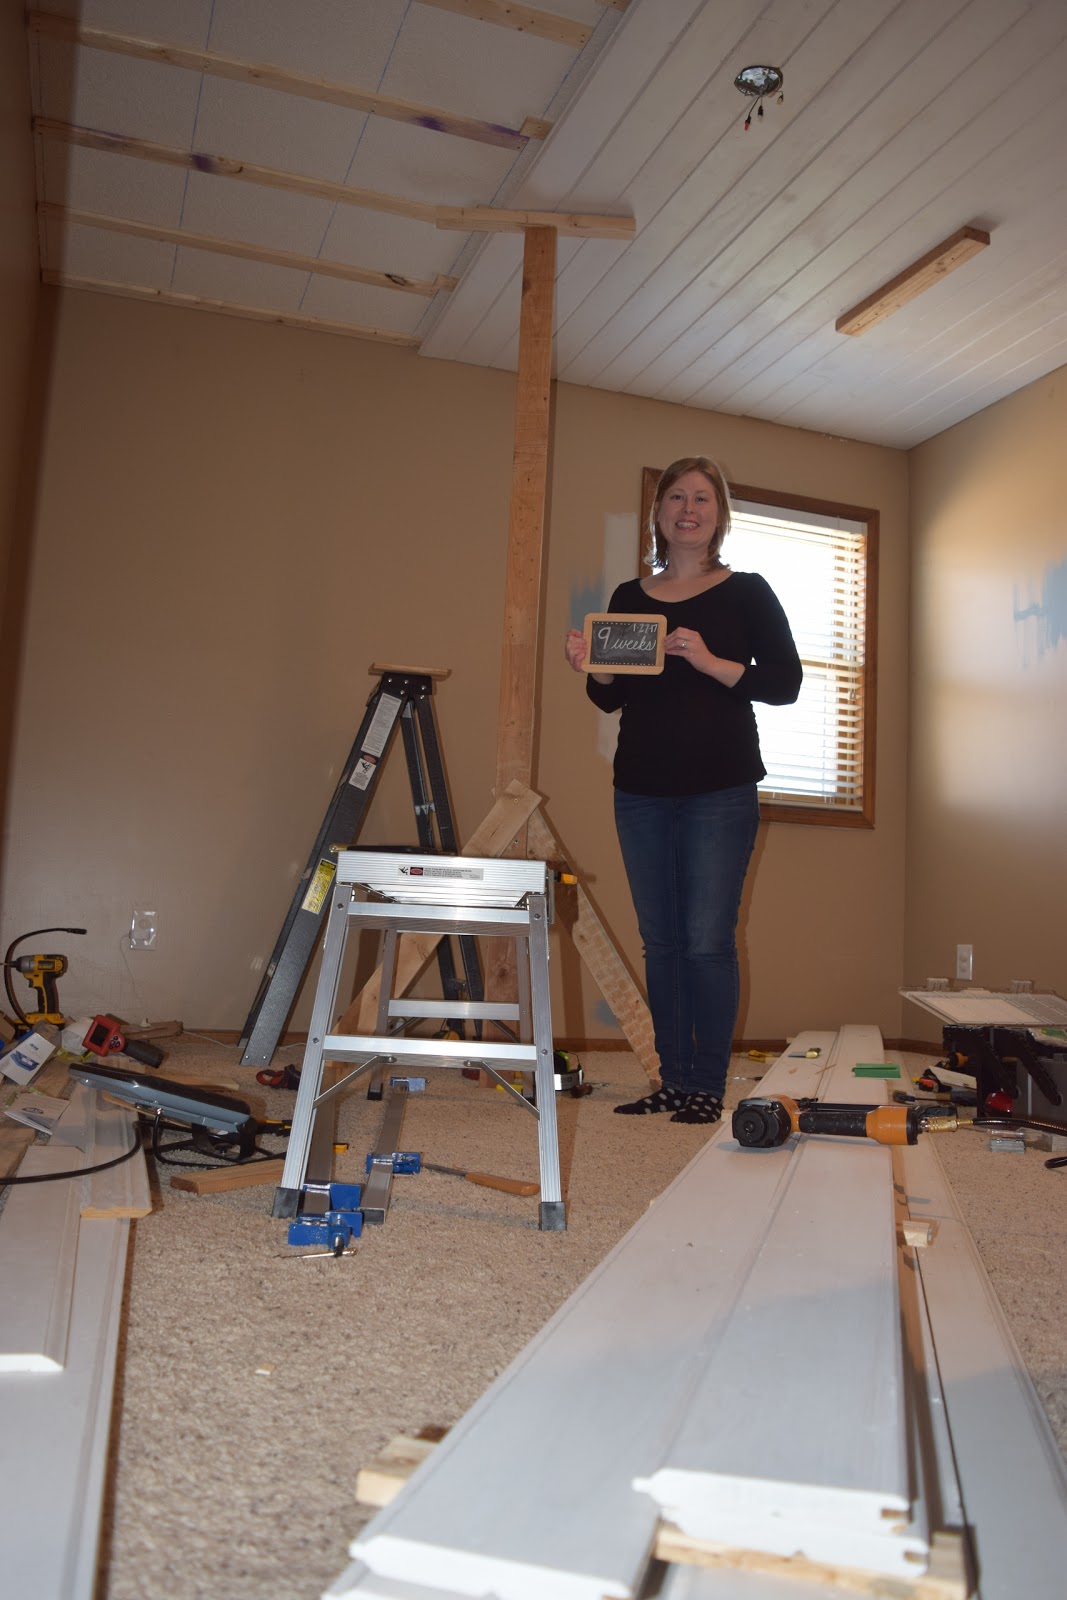
We got a few planks up and then took a few months off. When we found out we were pregnant, Adam got back to work. He made a "deadman" to take my place of helping hold the planks. It probably would have been just fine for me to continue to help, but we didn't want to take any chances. The "deadman" essentially held up the plank on one end while Adam worked with the other end. You can see the deadman in the picture above. It's the tall wood thingy to the left of me.

But before he started nailing the crown molding in place, look what my sweet babies' daddy wrote where the crown molding will go. It definitely made me cry.

We've still got a few more pieces of crown molding to hang up and need to give everything it's final coat (or two) of paint, but it's well on it's way to the finish line. And I must say, it's looking pretty classy in the nursery!

No comments:
Post a Comment
I welcome your thoughts!